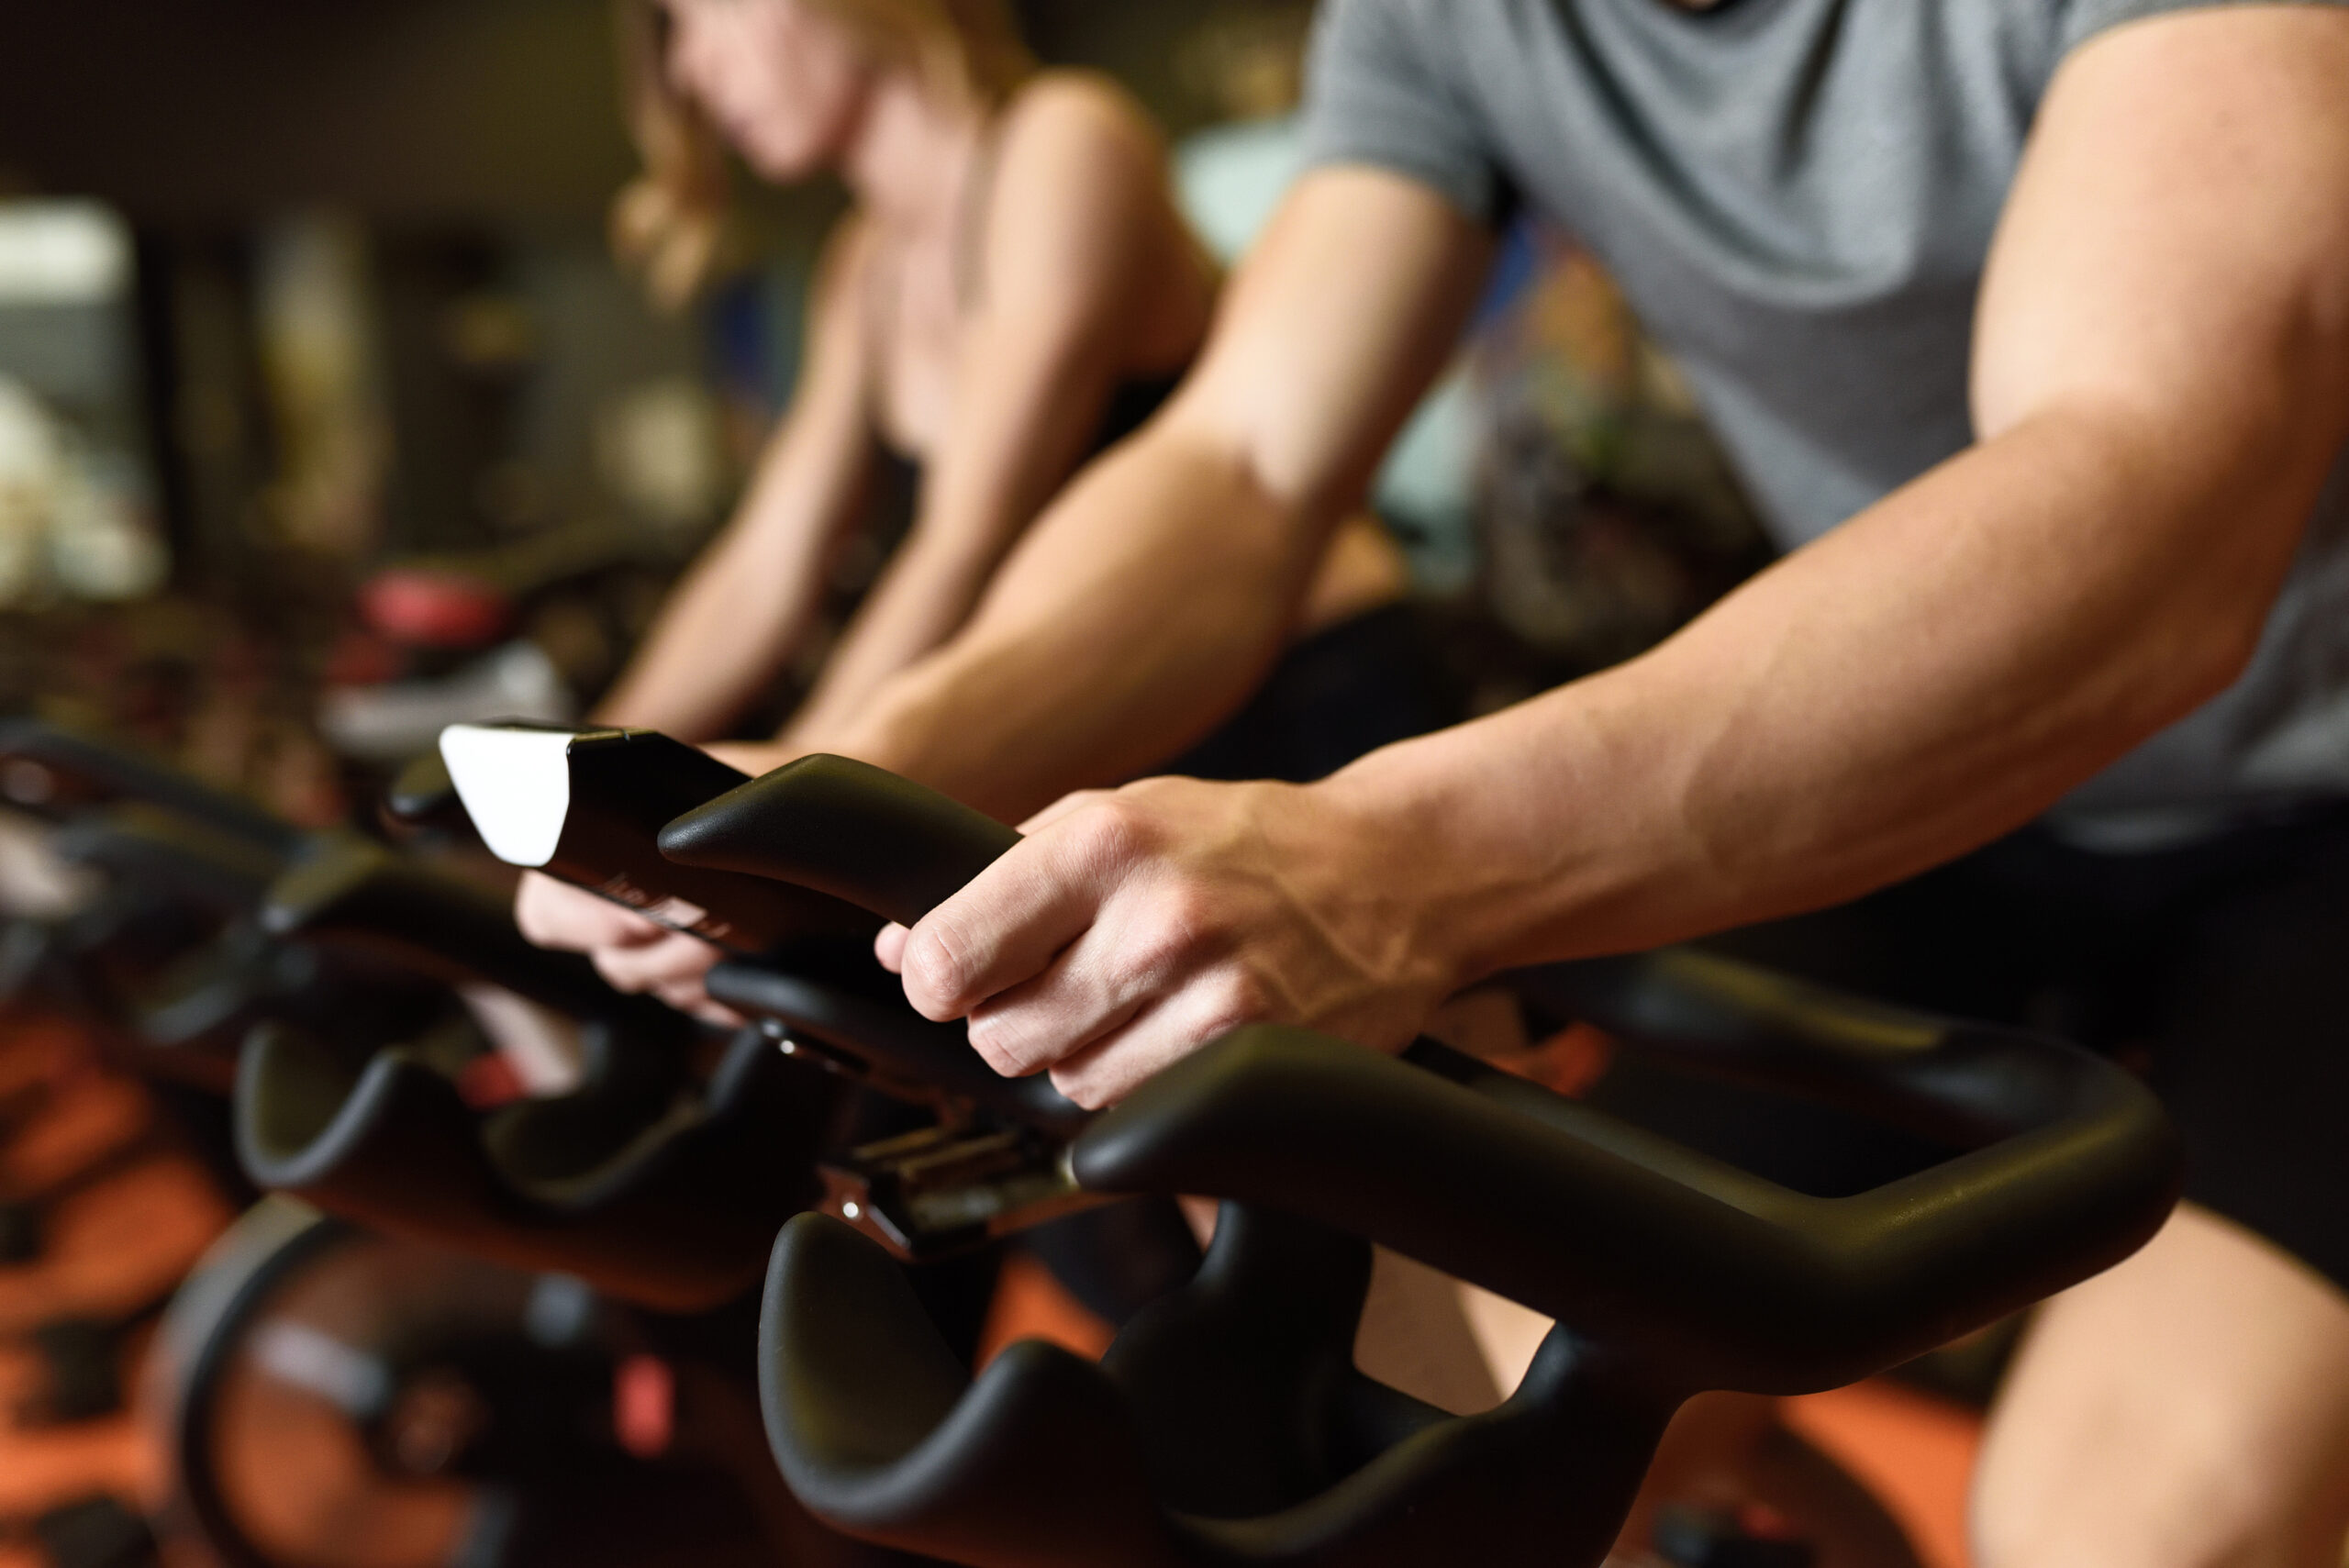
Any self-respecting spin bike will come with multi-grip handlebars, allowing you to choose between various hand positions during your rides.
And even though this gives you the freedom to choose which position is most comfortable for ya, there are 3 key hand positions you should be aware of- especially if you plan on streaming instructor-led workouts.
The aptly named 1st, 2nd, and 3rd hand positions each correspond to a different hand grip on the handlebars and each is used depending on what type of riding you’re doing.
If this sounds complicated, don’t worry- it really isn’t.
In this quick guide, I’ll go over these 3 most common cycling hand positions and discuss when each grip should be used during your workouts.
After reading, you’ll be ready to follow any streaming workout with confidence or simply choose the right grip while riding on your own.
The 3 Most Important Hand Positions For Riding Your Spin Bike
Before we dive right into the 3 hand positions every rider should know, I want to point out that cycling at home is all about comfort.
Ultimately, you can use any hand grip you like because let’s be real- most of us aren’t elite cyclists trying to maximize out performance for competition.
Correct me if I’m wrong, but most of us home cyclists are recreational riders simply trying to get a great workout in.
So again, don’t feel obligated to use only these 3 hand positions (regardless of what your streaming class instructor says)- go with what feels comfortable for ya.
But here are the 3 hand grips you’ll see mentioned in spinning classes and what they mean:
1st Position
The “1st position” is when your hands are in a narrow grip right in the front of the handlebars.
This is a comfortable position to use when warming up, cooling down, or resting after a hard sprint or climb. Although you could also use the 1st position if you wanted to during a seated flat/sprint section of your workout.
2nd Position
The next hand position you need to be aware of goes by the term “2nd position” and it’s the hand grip most of us will likely use the most during any workout.
In the 2nd position, your hands are spread a little further apart than they were in the 1st position, so they’re resting where the handles start to turn upwards.
This grip mimics the position most of us would prefer when riding a road bike outside.
In spinning classes, the 2nd position can be used for seated climbs, seated flats, sprinting, or even standing flats.
This position would also be a good choice when doing “jumps”, otherwise known as transitions between sitting and standing.
3rd Position
The final hand position, known as the “3rd position”, refers to the most distal grip the handlebars offer.
When using this grip, your hands are all the way at the end of the handlebars, giving you a secure and stable position to stand and push against serious resistance.
The 3rd position is really only meant to be used for standing climbs when the resistance is the highest and you need a little more stability.
But I have to say, I find myself stretching my hands out to the 3rd position at times when doing seated climbs too (it’s just a comfortable position for me).
Final Thoughts
Well, there ya have it.
Short and sweet, but now you know all the most common spinning hand positions.
If you’ve ever done any spinning classes in person or streamed workouts from home, I’m sure you’ve heard these hand positions mentioned.
Luckily, there’s not much to it and they’re easy to remember after a workout or 2.
Just keep in mind that when instructors tell you to use a certain hand position, those instructions are just recommendations.
Ultimately, you can use any hand grip you like, so go with what feels comfortable for ya.
I did want to mention that some higher-end bikes might also offer drop handles, which are the grips that are below the traditional handlebars.
You see these handles on most road bikes, but some indoor cycles have ’em too.
If you have a bike that has drop handles, feel free to use them as you see fit too, but I doubt you’ll hear these grips mentioned in any spin class since most spinning bikes don’t have them.
Anyway, I hope you found this guide helpful.
If you still have any questions regarding where the different hand positions are located on the handlebars, check out spinning.com – they have a great image that illustrates the different positions.


